
Christmas Preparations: Part I. Cookies, Cookies, Oh My!
December 22, 2009 by The swedish meatball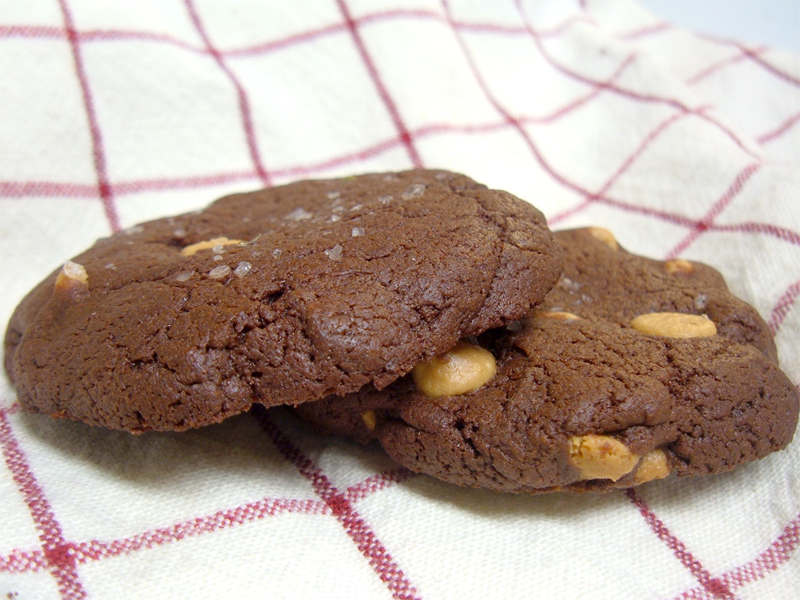
So in between Christmas shopping and discussions on the potency of Maui Wowie (the catnip, not the pot, you delinquents), I’ve been busy in the kitchen. Unfortunately, as soon as I finish one project in the kitchen, I have an article to write plus another project. So my pile of things-to-do just increases. To avoid the long delay between articles, I’ve split up Christmas Preparations: Part I into two parts. This segment is purely about cookies. And baking. And goat blood. Okay, maybe not that last one, but you get the point.
Cookies, Baking, and Health
Cookies are a Christmas tradition in our household. I rarely, if ever, bake cookies at any other time of the year—mainly because both Tyler and I prefer to avoid unhealthy snacking. Full of butter, sugar, and dastardly non-whole grains, cookies are pretty close to being a health nightmare. Nutrition experts will say, and experience has taught, that if you want to lose weight or stay healthy, the simplest and very first step is to drop the unnecessary calories: the sugary drinks, the empty carbs, the desserts, the candy, the cake, and, yes, the cookies.
But cookies are still a much loved holiday treat. Their fame is not without merit; properly prepared, the flavor and texture of a cookie can be transcendental. The "ideal" cookie profile is a matter of personal preference, but there are usually three characteristics which define the spectrum of cookie texture: soft, chewy, and crispy. I happen to prefer slightly crispy on the exterior edges, chewy throughout most of the interior, but just slightly soft in the innermost circle. Tyler edges more towards a completely chewy cookie, just slightly tender, without any crispness.
As a blogger with a health-conscious cooking philosophy (see my recently published corollary), I’m always searching for ways to challenge the assumption that nutrition must be gained at the expense of taste. This quest translates into three essential problems for the baking exercise:
- Use of Whole Grains. In my opinion, the first and foremost concern of a baker should be the type of flour. What grain does the flour come from? How is the grain processed? What is the protein content? On the issue of health, however, the most relevant question is: do we use whole grains or not? The consumption of whole grains is directly linked to lower risks of diabetes, cardiovascular disease, and obesity. Moreover, whole grains provide more sustained energy, with fewer blood sugar spikes than processed flour. So wherever possible, substitute at least half the flour for a variety of whole wheat flour. I specifically prefer hard white whole wheat flour for two reasons: (a) the taste of white whole wheat flour is less obtrusive than red whole whole wheat flour, which has a distinct flavor not really suitable for sweet baked goods (b) bread flour, or hard flour, lends a chewy texture to the cookie. For softer cookies, you might consider using pastry flour, which does exist in whole grain form.
The fraction of flour you can replace with whole grains is largely a matter of trial-and-error. To be safe, only substitute half the flour. Higher quantities of whole grains may require you to adjust the moisture content of the dough. Also: I highly recommend allowing the flour time to "soak" or absorb moisture—especially in mixtures lacking large quantities of liquid ingredients. The flavor will improve significantly.
- Choice of Sweetener. I prefer baking Splenda and Splenda brown sugar for a modest reduction in calories, but there are a whole slew of sweeteners available (agave nectar, honey, etc). If possible, aim for sweeteners with a lower GI. Just remember: different sweeteners may alter other characteristics of the dough, including baking time, volume, and texture. If so, simply tinker with the recipe, adding leavening or adjusting directions as needed.
- Navigating Fats. Probably the most difficult dilemma a baker will face is the issue of fats. Despite 1990s propaganda on the effectiveness of nonfat dieting fads, fats are an essential and necessary part of the human diet. The trick is to use certain kinds of fats over others—ones with less saturated fat, no trans fat, and higher levels of monounsaturated fats to polyunsaturated fats. Butter is the most commonly used fat for cookies, but it is also one of the worst fats health-wise. For every 21 grams of fat in an ounce of unsalted butter, there are 14 grams of saturated fat and only 7 grams of unsaturated fat (see nutrition data). Unfortunately for the baker, modifying the butter content of a cookie recipe has a high potential for disaster, as butter has a profound influence on the texture and taste of baked goods. Some recipes recommend substituting half the butter with an equal volume of apple sauce. Personally, I only recommend doing so in the case of moist fruit breads. Other substitutions, like nut "flours," have potential (as we shall soon see), but require additional alteration of the recipe.
Cookies are not a healthy fixture in a daily diet. Ever. However, they can be made healthier, while still tasting great.
Chocolate Peanut Butter Chip Cookies
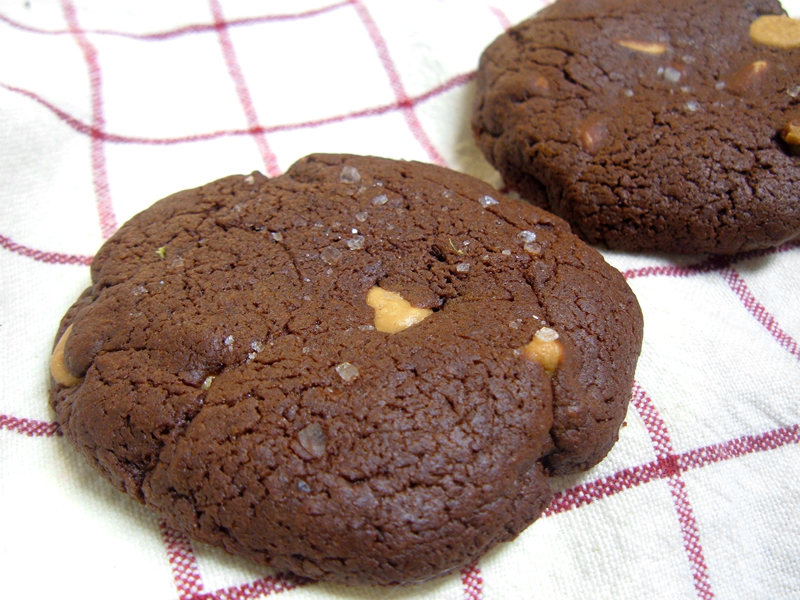
Adapted from Cook’s Illustrated Thick and Chewy Double Chocolate Cookies, as reprinted here at Boston.com.
Ingredients
Makes 45 cookies.
2 cups hard white whole wheat flour
½ cup Dutch-processed high fat cocoa powder
2 tsps baking powder
1½ tsps kosher salt
16 ounces semisweet chocolate chips
¾ cups Splenda brown sugar
½ cups Splenda
4 large eggs
2 tsps vanilla extract
2 tsps instant espresso
10 Tbsp unsalted butter, softened
16 ounces peanut butter chips
fleur de sel or sea salt (optional)
- Mix the first four ingredients and set aside.
- Melt the chocolate in a bowl over a small amount of steaming water (bain marie). Keep the chocolate warm, but not hot. Stir occasionally to promote melting and even heat distribution. Important: do not allow the chocolate to cool to room temperature.
- In a separate bowl, beat the eggs with the vanilla extract. Then sprinkle instant espresso over the surface to dissolve.
- Cream the butter against the side of another bowl. Then combine with sugars, followed by the egg mixture. When everything is just incorporated, add the chocolate. Note: you may need to temper the egg mixture if the chocolate is very warm. Use caution. On the other extreme, if the chocolate begins to set and lumps form, don't sweat; after all of the chocolate is in, microwave the bowl's contents for a few seconds at a time, until the chocolate is completely melted and the mixture is homogenous.
- Set aside the mixture and wait 30 minutes. The dough should now be "fudge-like" but responsive to shaping. Fold in the peanut butter chips.
- Scoop out the dough onto a parchment-lined sheet pan. Flatten to a round ½ inch thick disc. Top with fleur de sel or sea salt. Note: you may wish to pulse the sea salt in a spice grinder to achieve the desired crystal size.
- Bake in a 350°F preheated oven for about 10 minutes. Cool on a wire rack. There is no need to "soak" the dough before baking, as I mentioned previously, because in this case, the recipe is saturated with liquid chocolate.
Approximate Nutrition Data Per Cookie. Calories: 167 / Calories from Fat: 77 / Total Fat: 9g / Saturated Fat: 6g / Cholesterol: 25mg / Sodium: 107mg / Total Carbohydrate: 19g / Sugars: 13g / Protein: 3g. Note: Butter only contributes about 22 calories per cookie. However, the greatest problem with butter lies not with calories, but with the 6 grams of saturated fat per cookie. When I kept a food diary, my daily intake of saturated fat was somewhere near or at 5 grams; hence, for me, eating a cookie more than doubles my average intake of saturated fat.
The profile for this cookie almost exactly matches my definition of ideal (see above). Moreover, the flavor is phenomenally rich. My only complaint is a slight one: I’m not a fan of the store bought peanut butter chips. Not only do they contain corn syrup, but the form factor doesn’t quite match up to the intensity of the chocolate. If I were to repeat this recipe, I’d probably place handmade peanut butter discs in the interior.
Peanut Butter Cup Chocolate Brownies
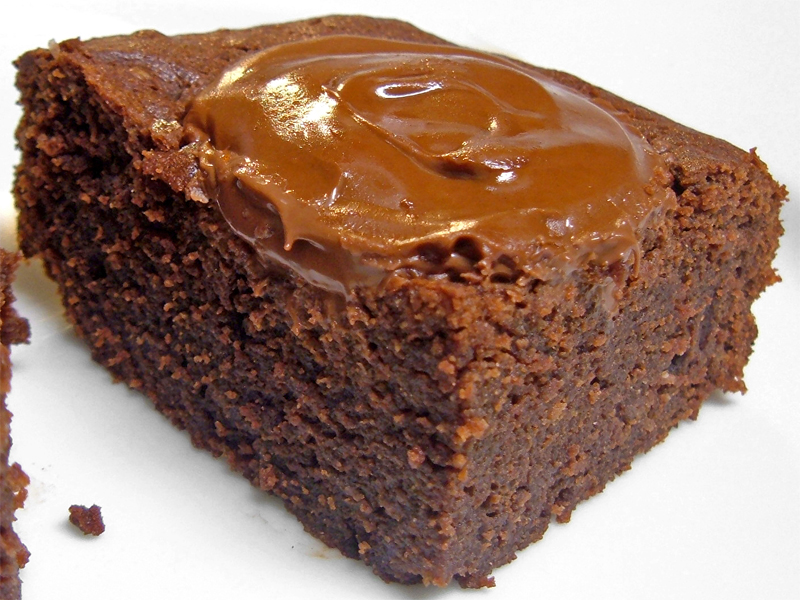
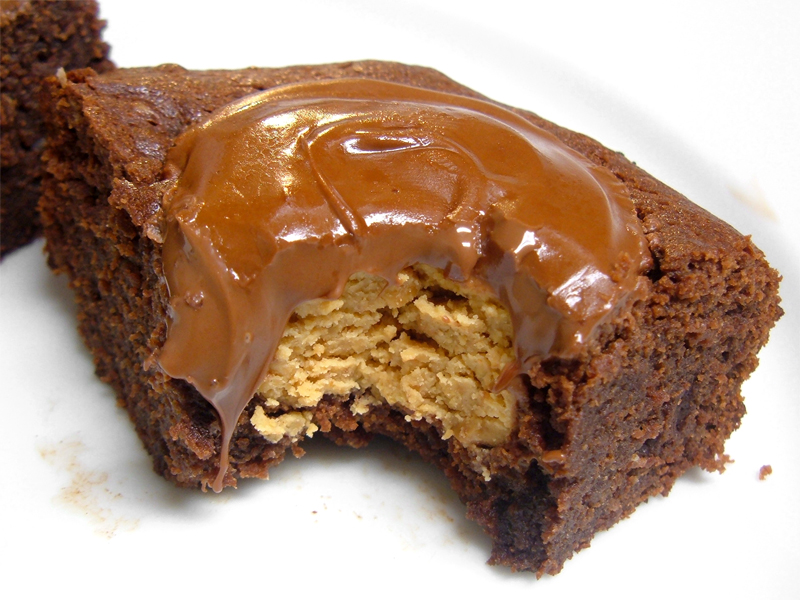
The original concept for this sweet treat comes from All Recipes Peanut Butter Cup Cookies. I usually avoid relying on the All Recipes submissions, mainly because most contributors are not chefs well schooled in kitchen techniques or ingredient ratios. However, exceptions for this standard do exist. In this case, the idea is so phenomenally popular (particularly with my husband) and delicious, feigning ignorance is akin to burying one’s head in the sand.
But first, some adaptation is necessary. Tyler prefers a much greater ratio of chocolate to peanut butter, so right away the peanut butter "cookie" exterior must be replaced with chocolate. But of what form: cake, muffin, cookie, or brownie? On being presented with these options, Tyler’s opinion was very decided: brownie. So mote it be.
For the brownies, I referenced Baked: New Frontiers in Baking. Changes to the original recipe include: larger quantities of ingredients for thicker brownies and a bigger bake pan, more whole grains, different sweeteners, and slightly less bitterness from the chocolate.
Ingredients
Makes 24 brownies.
cocoa powder, as needed
1½ cups hard white whole wheat flour
½ cup unbleached cake flour
1½ tsp table salt or 2¼ tsp kosher salt
¾ tsp cinnamon
11½ ounces (1 bag) bittersweet chocolate chips
6½ ounces semisweet chocolate chips
1½ cups (3 sticks) unsalted butter
1½ tsps instant espresso powder
2½ cups Splenda
¼ cup + 2½ Tbsps Splenda brown sugar
8 whole large eggs
3 tsps vanilla extract
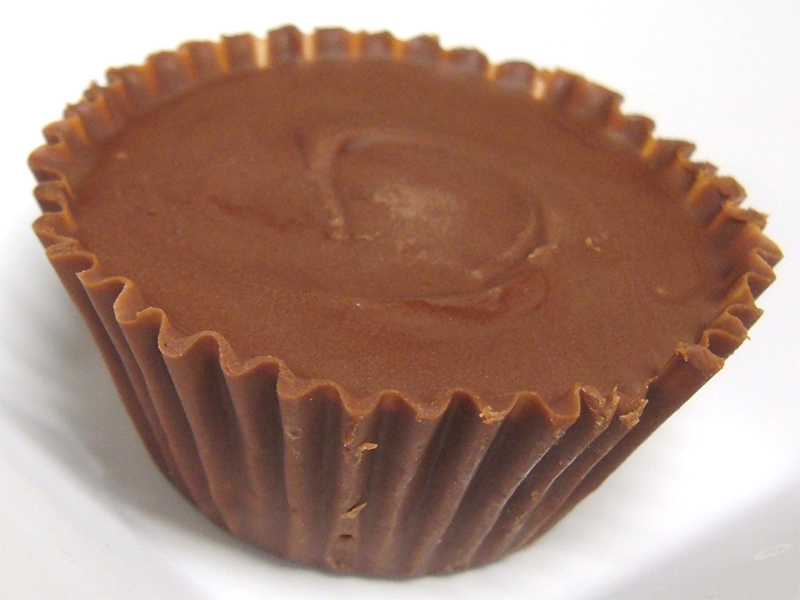
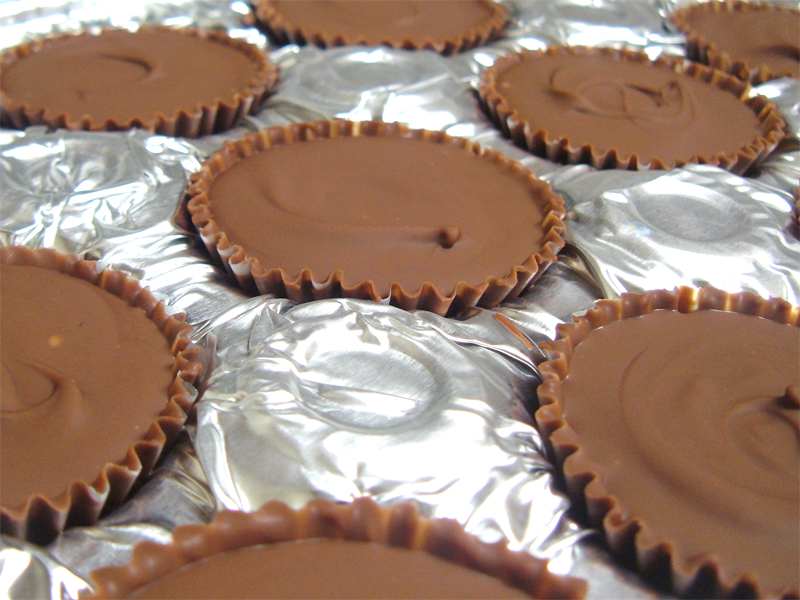
24 homemade peanut butter cups, recipe from Chow*
*The total weight of the filling should be at or near 318 grams, yielding approximately 24 peanut butter balls with a weight of 13 grams each. Also: the directions in this recipe are very exacting. If preparing peanut butter cups for consumption as-is, I highly recommend following the directions precisely. For our purposes, however, you need not control the temperature of the chocolate so strictly. Melt the chocolate in a bain marie. Stir until the chocolate is completely melted and uncomfortably warm to touch but not scalding. Err on the side of cooler temperatures, if you’re inexperienced with manipulating chocolate. Afterward, cool the chocolate to "moderately-warm" (just above lukewarm) by removing the chocolate from heat. Follow the directions in the recipe to test the chocolate for adequate tempering. Periodically return the chocolate to the bain marie as needed to keep the chocolate moderately-warm. Keep the peanut butter cups frozen until they are ready to be used.
- Prepare a 9x13 baking pan. Rub the interior surface of the pan with an oil-dampened paper towel. Then dust the surface with cocoa powder, tapping out any excess.
- Combine and mix both flours, the salt, and the cinnamon. Reserve.
- Melt the bittersweet chocolate, the semisweet chocolate, and the butter in a bain marie. Stir occasionally to promote melting and even heat distribution. When the mixture is homogenous and glossy, mix in the espresso powder. Turn off the heat. Then add the sugars and mix again.
- Whisk in the first five eggs into the mixture, then add the last two eggs as well as the vanilla extract. Mix until all ingredients are just combined. Fold in the flour mixture.
- Pour the mixture into the pre-prepared baking pan. Bake in a 350°F preheated oven for 30 minutes. As soon as the pan is removed from the oven, extract the peanut butter cups from the freezer and press them into the brownies.
- Cool, slice, and serve.
It’s hardly a surprise given the ingredients: these brownies are sinful—as in, you make baby Jesus cry when you eat them. They’re rich and moist. The chocolate oozes into your mouth when they’re just out of the oven, and the peanut butter filling has the perfect texture. (They’re also Tyler’s favorite this year.) Aside from the distinct possibility of giving yourself a heart attack, however, there are a few other problematic issues and most of them relate to form. There should be a thicker layer of chocolate on the bottom of the peanut butter cups. Also, fill the cups to the top to ensure easy removal of the wrapping. Finally, consider baking the brownie mixture in a regular muffin pan, so you have circular individual size servings of brownie; this form factor would be preferable to a square brownie, which has an uneven distribution of brownie mix surrounding the circular peanut butter cups.
Note: if refrigerating these treats, microwaving them will warm the brownie exterior much faster than the chocolate. The chocolate will likely remain rock hard, even when the brownie is quite hot itself. I recommend allowing a slice to reach room temperature before warming.
Chocolate Chip Cookies
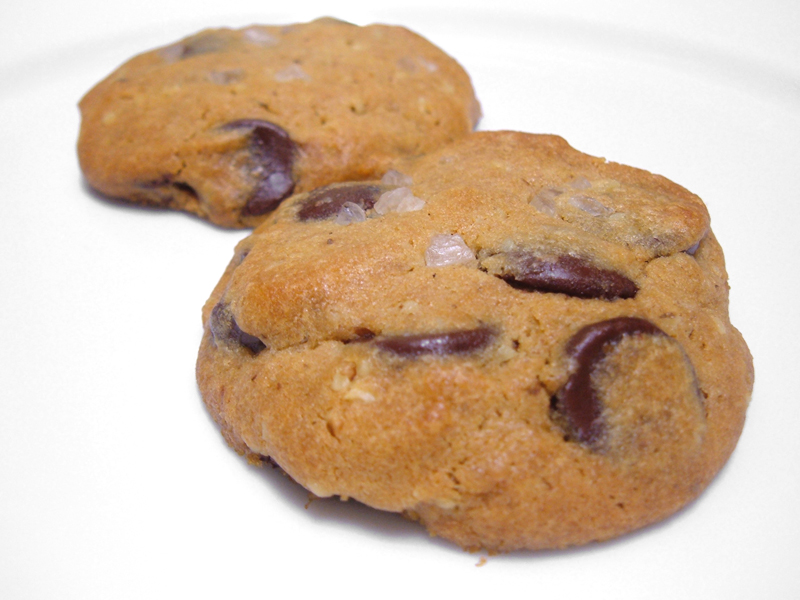
Two years ago, I developed a solid formula for 100% whole grain chocolate chip cookies. The recipe now appears to be lost, much to my chagrin, so I’m starting from scratch this year. (Que sera sera, id est quod est, blah, blah…) But!—where there is disaster, there is often opportunity. So, this year I seized the wildly popular recipe from the New York Times and did a little hack and slash.
Ingredients
6¼ ounces unbleached cake flour
6¼ ounces hard white whole wheat flour
4½ ounces walnut flour
1¼ tsp baking soda
1½ tsp baking powder
1½ tsp salt
2½ sticks unsalted butter
½ cup + 2 Tbsps Splenda brown sugar
1 cup + 2 Tbsps Splenda
2 large eggs
2 tsps vanilla extract
20 ounces bittersweet chocolate chips
fleur de sel or sea salt
- Combine all three flours, the baking soda, the baking powder, and the salt. Reserve.
- Cream the butter against the side of another bowl. Stir in the sugars. Add the eggs one at a time, thoroughly incorporating each one into the mixture. Finish the wet ingredients by mixing in the vanilla.
- Fold in flour until the dough just begins to form. Fold in the chocolate chips until all ingredients are incorporated, but not over-mixed.
- Refrigerate the dough for 36 to 72 hours. Scoop out the dough onto a parchment paper lined sheet pan and sprinkle with sea salt or fleur de sel. Note: you may wish to pulse the sea salt in a spice grinder to achieve the desired crystal size.
- Bake the cookies in a 350°F preheated oven for 10-18 minutes, depending on the size of the cookie. Allow the cookies to cool on a wire rack. Serve.
Tyler and I didn’t exactly ditch these cookies, but they were our least favorite by unanimous agreement. The sea salt wasn’t ground finely enough (see procedure step four), the cookies didn’t gain much volume at all (though they retained their height and shape), the chocolate here wasn’t quite as wonderfully prevalent as in either the chocolate cookies or the brownies, and the most damning thing of all—they were soft! Completely, utterly baby soft, but with a slightly powdery texture reminiscent of shortbread. Wrong, wrong, wrong! About the only feature we did appreciate was the slightly nutty flavor of the dough, which we achieved without having the onerous contribution of whole or chopped nuts. Neither Tyler or I appreciate the texture or bite of nuts in cookies, but the taste is quite delectable.
Based on these results, there are several obvious corrections to be made.
- Replace the cake flour with bread flour. The tenderness of cake flour is quite unnecessary.
- Possibly cut the amount of butter in the dough. The walnut flour contributes additional fat to the dough, and fat also tenderizes; hence, some of the butter is expendable. Consider adding a little milk to make up for the loss of moisture.
- On the issue of volume: Splenda is occasionally known to interfere with the rise of baked goods. You could add a little nonfat dry milk powder and baking soda. Or, you could cheat and simply shape the cookie before baking. Your choice.
Obviously more play-time in the kitchen is necessary to perfect this little monster. But!—rest assured, the chocolate chip cookie will be restored to its former glory.